When ladies get married, they always want their hair to look it’s best. Of course, the issue is that there are thousands of potential styles out there from which people need to choose for their big day. In the hope of giving you some inspiration, this article contains some fabulous wedding hairstyle ideas you might like to consider. So, take a look through them now and see if you can find anything suitable for the happiest day of your life.
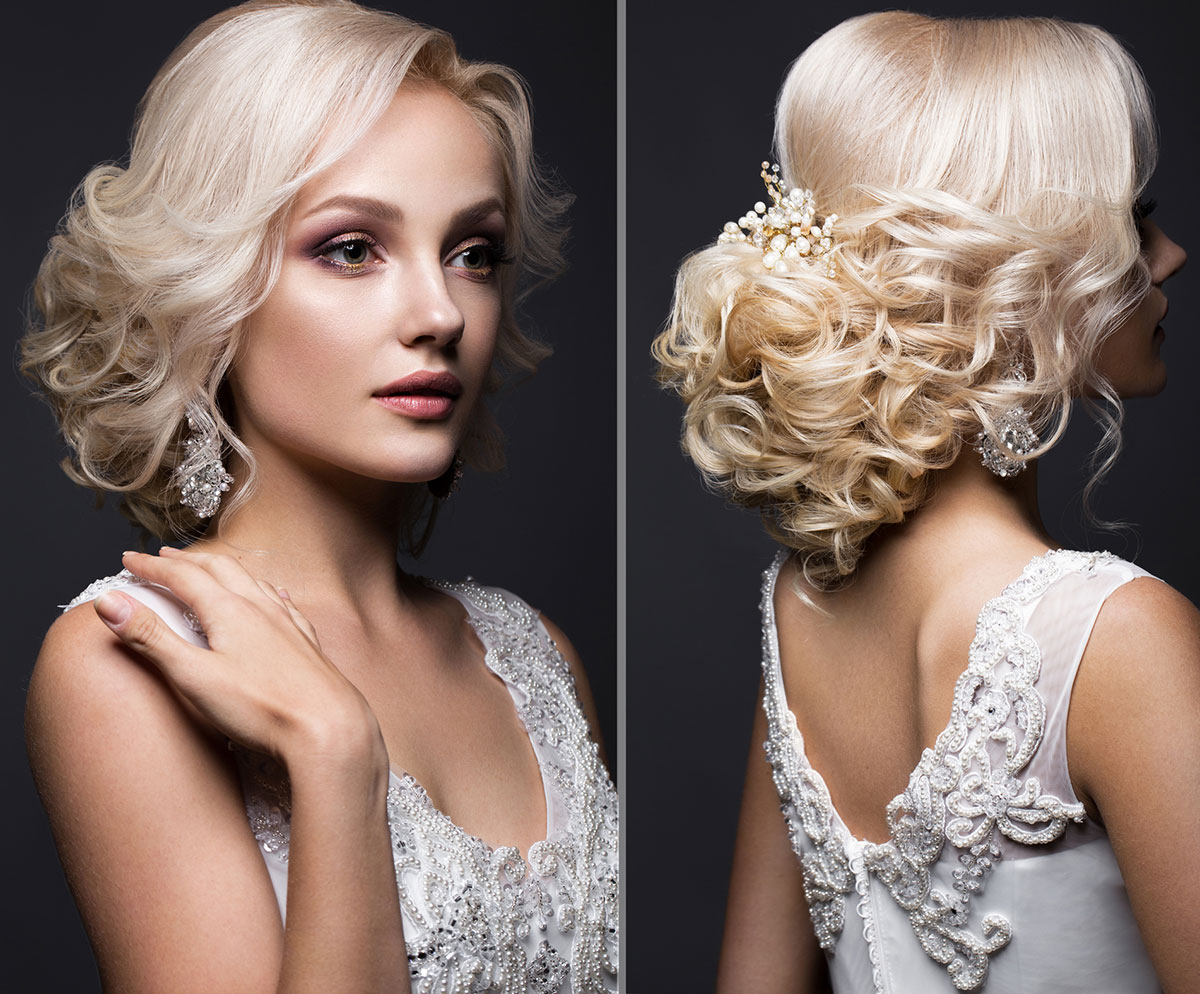
Blonde curly chignon
If you want to show off your neck while still having an impressive hairdo that will turn heads, the chignon style could be perfect!
Blonde or brunette style up, with flowers

This wedding hairstyle is ideal for ladies who don’t want to mess around. It’s neat, attractive, and it lets the wedding guests know you mean business.
Blonde loose plaited bun with flowers

Elegant and yet so outspoken, the blonde loose plaited bun is a guaranteed winner for ladies who want to dazzle on their wedding day.
Long, pinned, and tied-back

So you love your long locks but you want to show as much skin as possible while still maintaining the perfect image of a blushing bride. Choosing a style that ties and pins your hair back is probably the best option.
Pinned black retro updo

Short hair doesn’t have to appear masculine or unladylike. As you can see from this photograph, the pinned black retro updo can make you look angelic to say the least.
Long and curly with a French plait

Do you love the New York look? Would you like to get married with a hairstyle that’s both trendy and suitable for every occasion? Then you need to try a long and curly style with a French plait, regardless of your hair colour.
Fancy high princess bun

Your wedding day is the one time when you’re officially allowed to push the boat out and go full-on princess! Try this style if you want to have a royally good time with all your nearest and dearest.
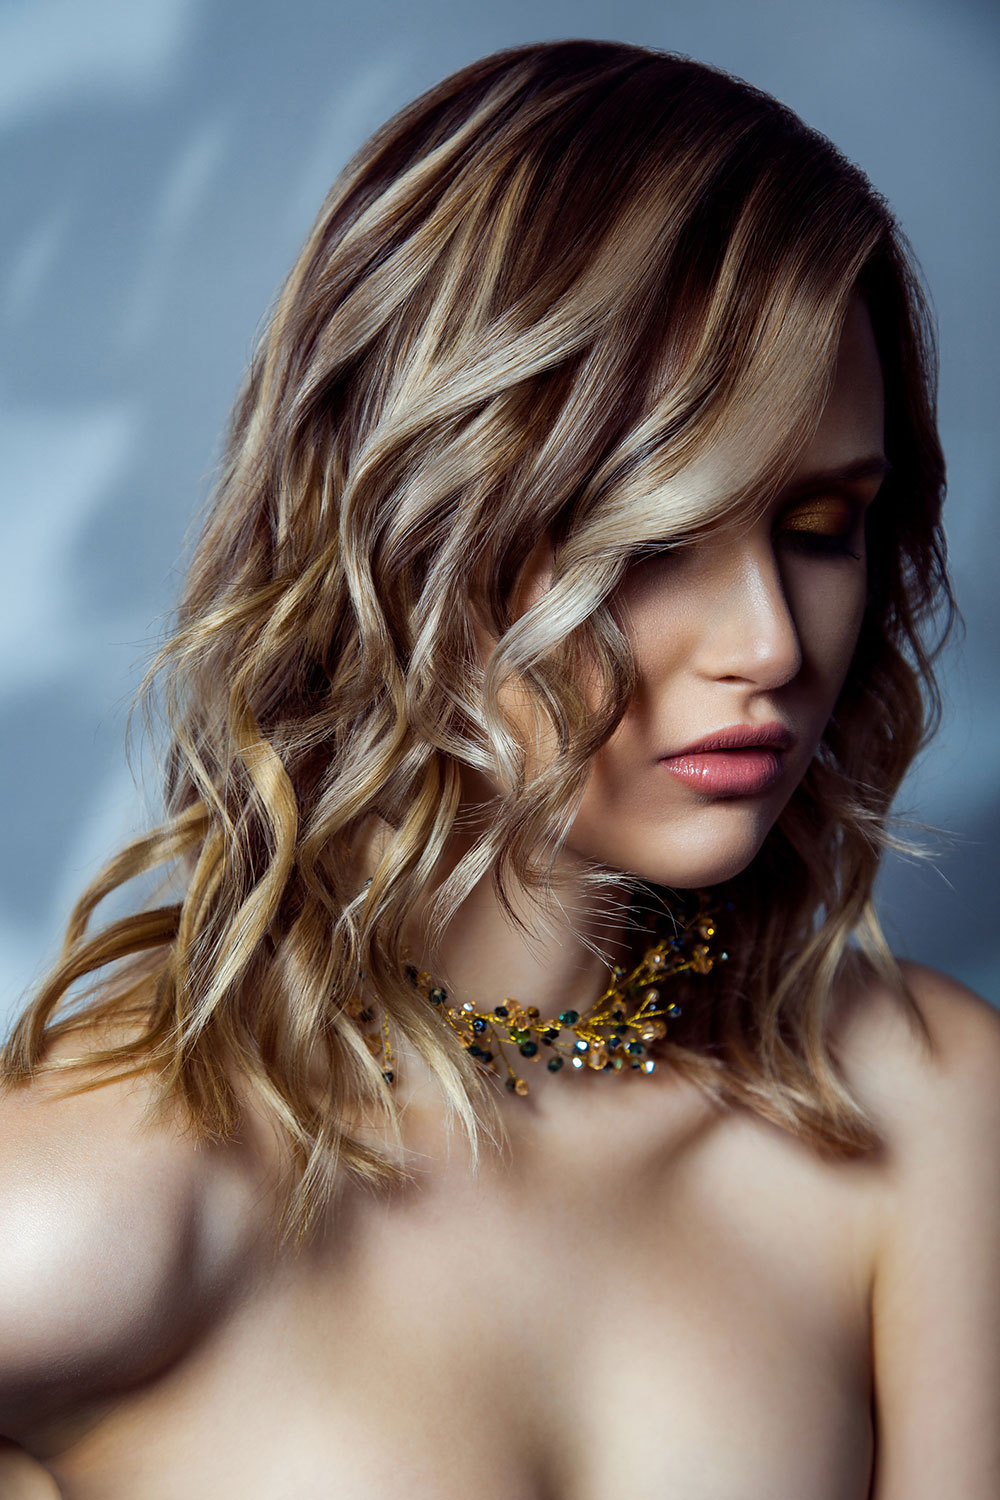
Long and wavy with a side parting

They say a woman’s neck is the most mysterious part of her body. It’s also one of the most attractive. So, why not make use of both realities, by covering only half of yours?
Long and wavy with a center parting

Brunettes struggle more than most when it comes to choosing the best possible hairstyle for their weddings – it’s a fact! However, long and wavy with a center parting will never fail to impress.
Big high bun with delicate drop-downs

A high bun is perfect for your wedding day, especially if you choose a dress that doesn’t rise much above your bust. You can even add some delicate drop-downs. Feel free to play with the hairstyle and create something unique!
Blonde curly waterfall bun

A waterfall bun always looks gorgeous when you get it right, but it’s probably worth employing a professional for the morning of your wedding if you want to avoid disaster.
Neat side parted plaited bun

This smooth and sleek style is always a popular choice with blushing brides. It’s simple and yet so effective in the results it creates. You could do this yourself without too much hard work.
Messy side-bun with accessories

If you love to accessorize, there is no better style to choose than a messy side-bun. It’s versatile so you can get creative and use your imagination when it comes to the accessories you choose.
Brunette dutch braid updo

Lots of ladies overlook the Dutch braid when looking at hairdos for their wedding. However, this photograph shows just how angelic and perfect it can make you appear!
We hope that you have found a style that inspires you for your fairytale wedding day.
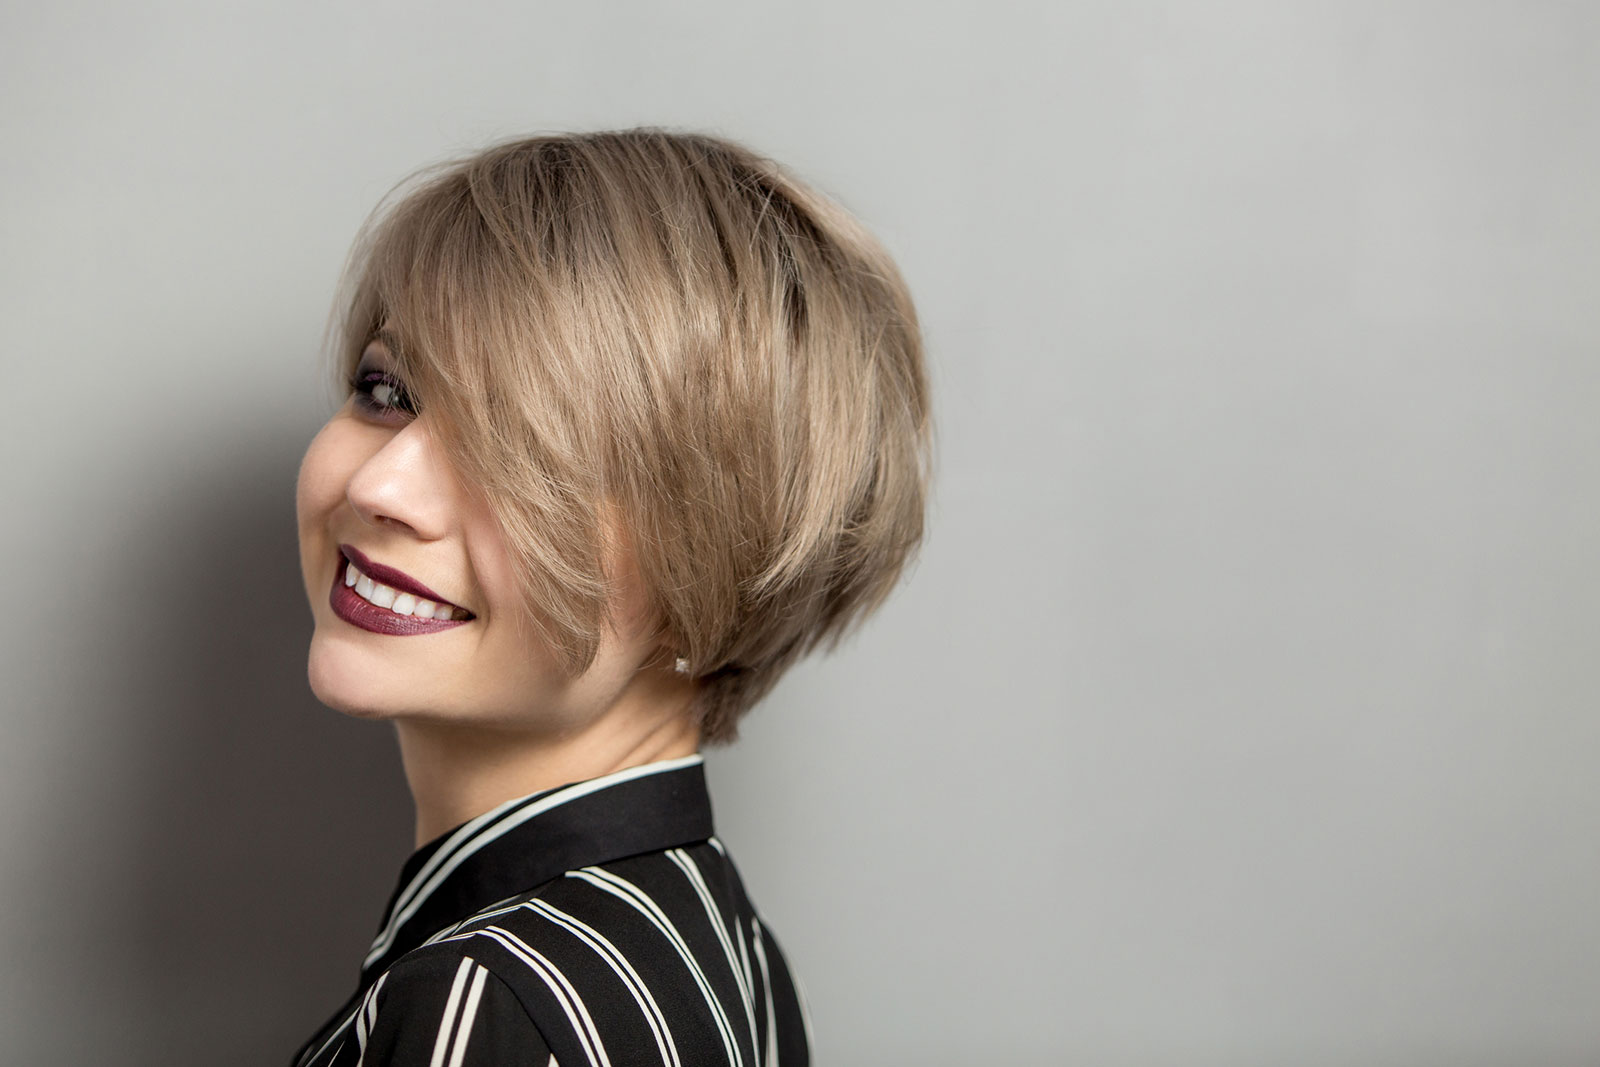
 Medium length haircuts")